How Can We Help?
Form Styles: 4 Ways to Create Forms
When you create a form in Optinize, there are four form styles to choose from: Inline Form, Floating Bar, Floating Box, and Modal.
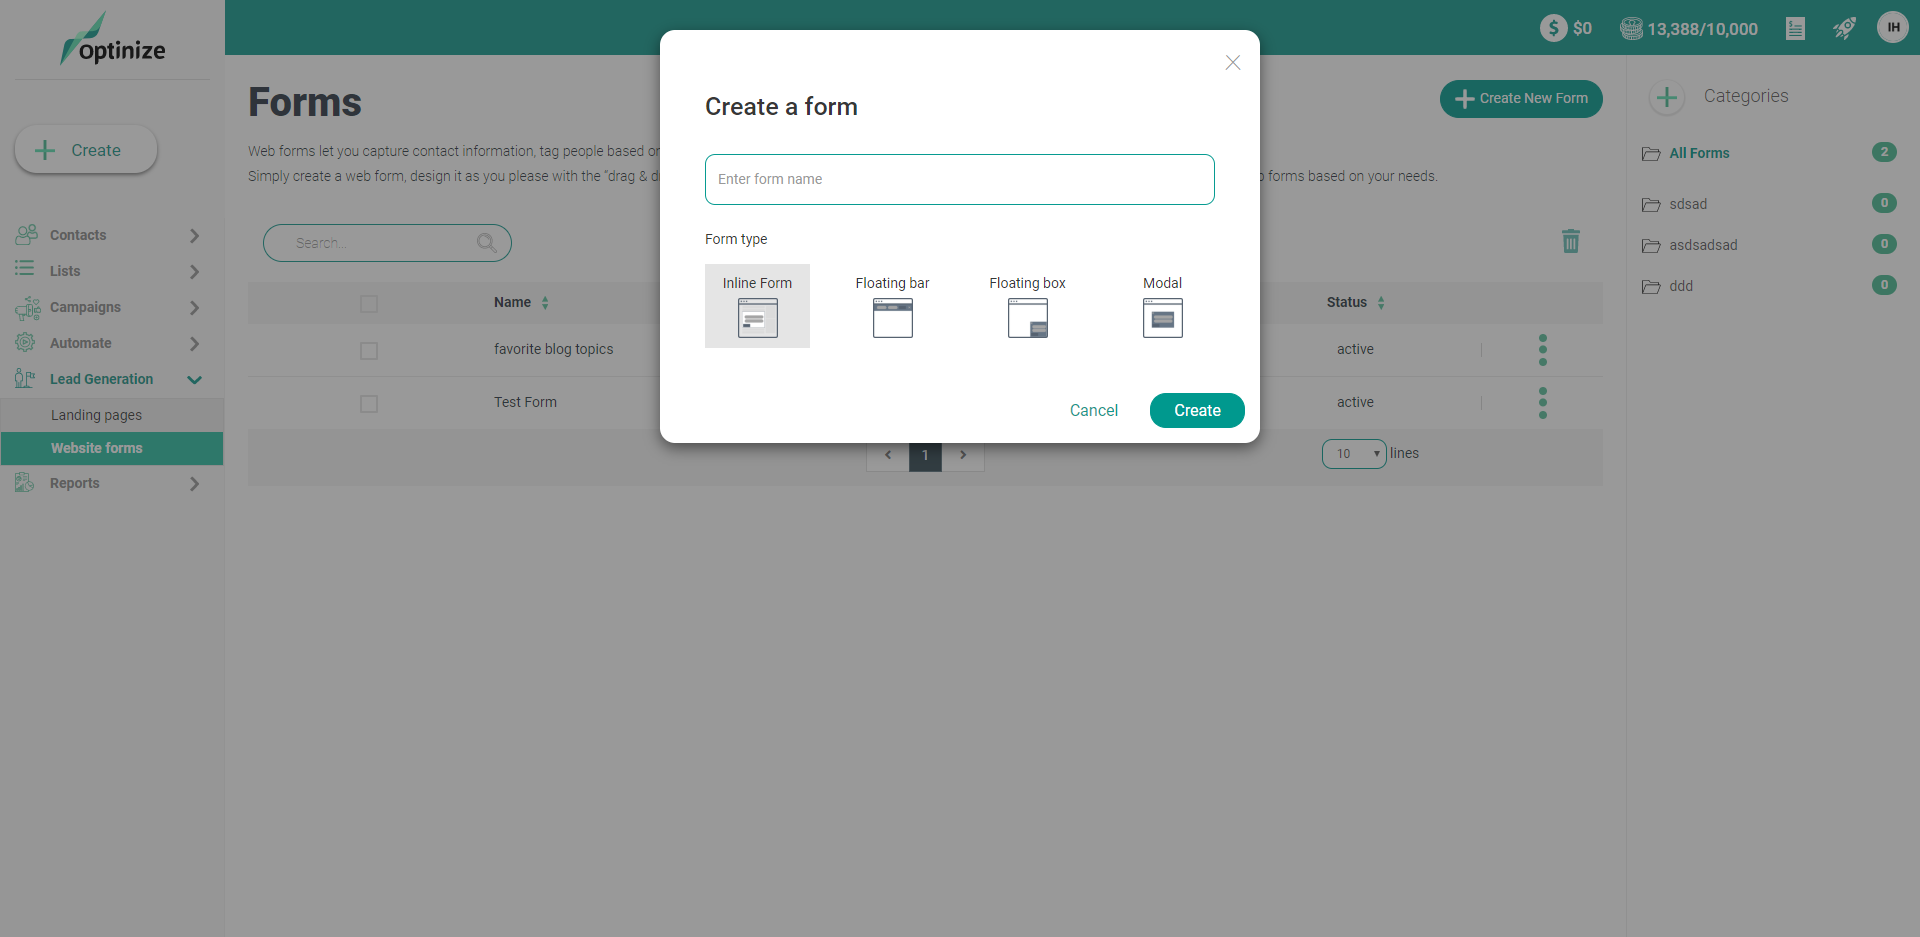
This guide will walk you through these form style options and explain how to configure each style to fit your needs. By the end, you should have a better understanding of all the field, formatting, and style options at your disposal when designing a form.
Inline Form
This style of form is embedded into the content of the webpage where you want it to appear. With an inline form, you have the flexibility to add, change, or remove the fields that appear on the form. This is what differentiates an inline form from the rest of the form styles in Optinize; while the other styles are best used to collect new subscribers’ email addresses, an inline form can be used to collect all kinds of information.
You’ll see all of your field options displayed in the menu on the right under the Fields category, including all of the custom fields you previously created (under My Fields):
All of the default & custom fields included in every Optinize account can be found under the the “Contact Field ” drop down menu.
Styling Your Form
Under the Style category, you can change the layout of your form, change its background and font color, tweak the color and style of the Submit button, and apply any custom CSS you’d like to add.
Floating Bar
The floating bar form style allows you to add a bar that “floats” at the top or bottom of your website that collects visitors’ email addresses. It includes the Name and Email Address standard fields.
Note: use the “Data Enrichment” automation from our automation library. This automation includes a floating bar that asks contacts for their email address in return to a coupon. Then just before sending the coupon, the user is being asked to fill more details about themselves. This way you capture subscribers’ email addresses but also collect more valuable data about them
Under the Style category in the menu on the left, you can change the background and font color of the bar, tweak the color and style of the Submit button or add animation to it.
Under the advanced tab, you can choose how you’d like your bar to appear on the page and whether it displays at the top or bottom of your site. To display your floating bar at the bottom simply add ‘Bottom’ on the CSS ID as shown on the screen-cast below.
You can specify also specify if you would like to “hide” the bar on different devices.
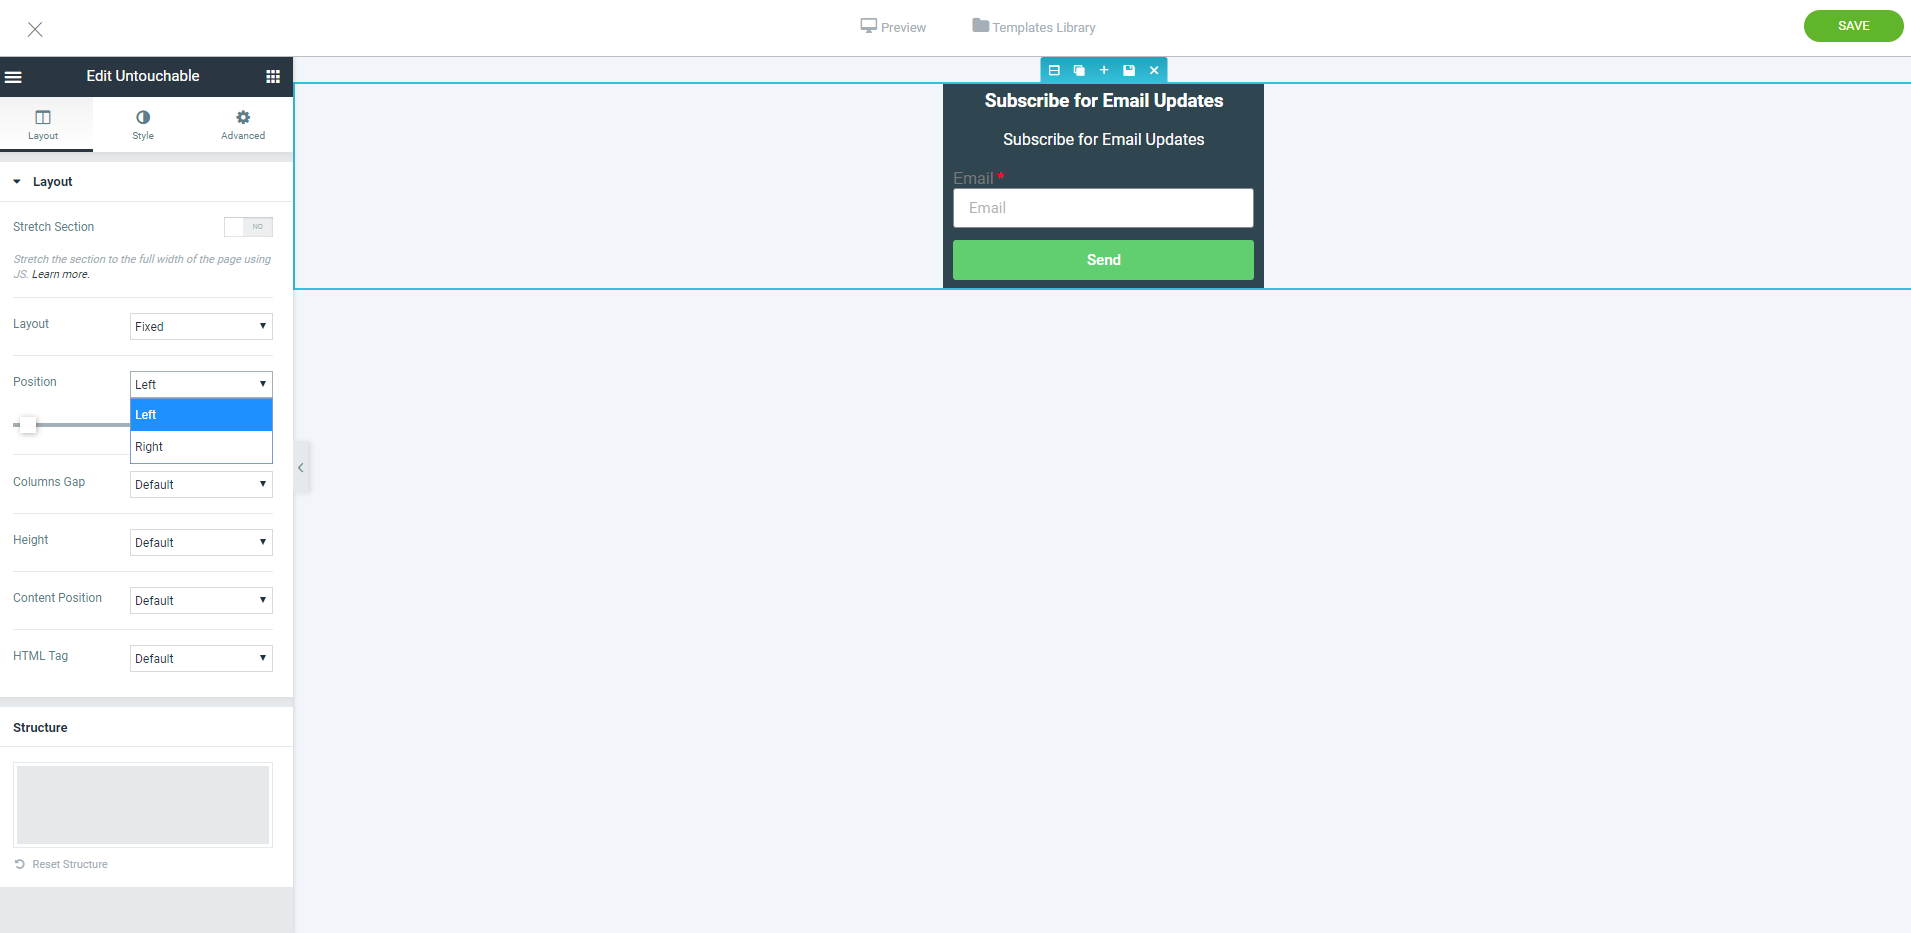
Floating Box
The floating box form style allows you to add a form that appears in the bottom left or right corner of your website that collects visitors’ email addresses. You can add image, countdowns or any other element you wish to make sure your box grabs your user’s attention.
Under the Style category, you can also change the background and font color of the box, tweak the color and style of the Submit button.
Modal
The modal form style is a “pop-up” window that appears as contacts browse your website. You can add image, countdowns or any other element you wish to make sure your box grabs your user’s attention and inform your visitors what they’re signing up for.
Your configuration options for the modal form style are the same as for the floating bar and box form types.
Form Options
Change “Thank you” message
Under the “Additional Options” category, you can edit the “Thank You” message that appears upon form submission. This option is great if you would like your contacts to stay on the same page they submitted the form on.
Redirect after form submission
You can also redirect contacts to a single page on your website after they submit the form by using the “Redirect” option. This is great if you would like to use a customized thank you page to help contacts progress through your marketing funnel.
Add tags to contacts
You can add a tag to contacts who submit the form. This will allow you to automatically tag contacts who submitted the form and start an automation around it.
Send webhook
You can send contacts who have submitted the form through a web hook. This will allow you to update other apps you’re using when a contact submits a form
Display Forms on Your Website
After creating your form, you will be asked to select where will it appear on your website. You can select between specific page or display on the entire website.
Note: you must have site tracking in place in order to display forms on your website.
Forms will be displayed on your website for as long as the user didn’t submit them. If the user exit any form, it will not be displayed for a 12 hours period before reappearing.
Summary
The style of form you choose to use is primarily up to how you want to share the form, as well as your style preferences.
The floating bar, box, and modal styles provide a simple means for collecting new email addresses for your list from your website.
What kind of forms do you use for your business? Let us know in the comments below.